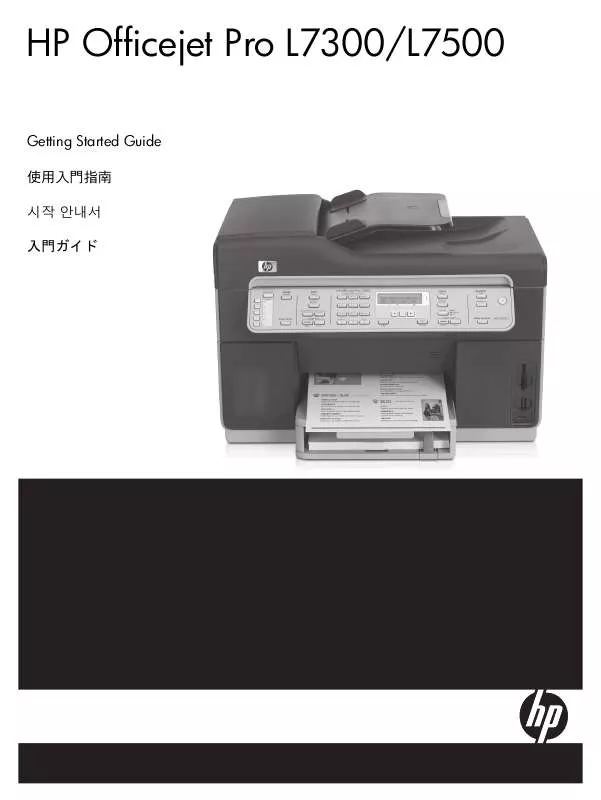
사용자 설명서 HP OFFICEJET PRO L7580 ̹
Lastmanuals는 사용자 가이드, 오너매뉴얼, 퀵스타트 가이드, 기술 데이터 시트 등의 하드웨어와 소프트웨어의 사용과 관련된 사용자 설명서를 공유, 저장, 그리고 검색하는 서비스를 제공한다. 잊지마세요 : 물건을 사기 전에 반드시 사용자 설명서를 읽으세요
만일 이 문서가 고객님이 찾는 사용설명서, 지도서, 안내서라면, 다운로드 받으세요. Lastmanuals는 고객님께 HP OFFICEJET PRO L7580 사용설명서를 빠르고 손쉽게 찾아드립니다. HP OFFICEJET PRO L7580 사용설명서가 고객님에게 도움이 되기를 바랍니다.
Lastmanuals은 HP OFFICEJET PRO L7580사용자설명서를 다운로드는 것을 도와드립니다.


아래의 이 제품과 관련된 사용자 설명서를 다운받으실수 있습니다.
 HP OFFICEJET PRO L7580 (5889 ko)
수동 요약 : 사용설명서 HP OFFICEJET PRO L7580̹
사용을 위한 자세한 설명은 사용자 가이드에 있습니다.
[. . . ] Firmly press on the sides to snap the cover in place. c Lift the display.
a
c
c
a
b
c
d
b
7
hp psc 2400 photosmart series all-in-one
Connect phone cord
a
1-LINE /1-LINE
8
Connect USB cable
9
a b
Turn HP device on
Turn power on. Select your language, and then press OK. [. . . ] Select your country/region (if not listed, select Singapore), then press OK.
a You must connect the supplied phone cord to the phone jack on the left (1- LINE).
b To connect an answering machine or use your own phone cord, see the Fax Setup chapter in the Reference Guide.
b
Make sure that you see the screen in step 3 before plugging in your USB cable. Do not connect the USB cable to a keyboard.
a b
Windows setup poster
10
Insert and align print cartridges
11
Finish software installation
a
Hardware setup is complete. On the dialog box with the green checkmark, click Next. Depending on your system, it may take 20 minutes or more to finish installing the software. After you restart your computer, the Fax Setup Wizard appears. dialog box, you are ready to use your HP PSC. If you encounter any problems during setup, see the Reference Guide.
b
a Make sure the power is on. Make sure you are using the correct side of the poster and CD for your operating system.
Lift the display.
a
b
c
d
4
Connect phone cord
5
Connect power cords
6
Connect USB cable
7
a b
Turn HP device on
a You must connect the supplied phone cord to the phone jack on the left (1 - LINE).
1-LINE
Do not connect the USB cable to a keyboard.
Turn power on. Select your language, and then press OK. Select your country/region (if not listed, select Singapore), then press OK.
b To connect an answering machine or use your own phone cord, see the Fax Setup chapter in the Reference Guide.
a b
c
8
hp psc 2400 photosmart series all-in-one
Insert print cartridges
9
Align print cartridges
Press OK on the front panel to begin alignment. After a page prints, alignment is complete.
Macintosh setup poster
a
Lift the print carriage door up until it catches. Wait for the print carriage to move to the right. Lift the blue and gray latches.
b
Remove the bright pink tape from both print cartridges. Do not touch the gold-colored contacts or retape the cartridges.
c
Hold the black print cartridge with the HP logo on top. [. . . ] Lift the blue and gray latches.
b
Remove the bright pink tape from both print cartridges. Do not touch the gold-colored contacts or retape the cartridges.
c
Hold the black print cartridge with the HP logo on top. Slide the cartridge into the right (gray latch) side of the print carriage.
d Press down on the gray latch until it locks into place. [. . . ]
HP OFFICEJET PRO L7580 사용자 가이드를 다운로드 받기 위한 면책조항
Lastmanuals는 사용자 가이드, 오너매뉴얼, 퀵스타트 가이드, 기술 데이터 시트 등의 하드웨어와 소프트웨어의 사용과 관련된 사용자 설명서를 공유, 저장, 그리고 검색하는 서비스를 제공한다.
사용자가 원하는 자료가 존재하지 않거나, 불완전하거나, 다른 언어로 되어 있거나, 모델이나 언어가 설명과 맞지 않는 경우 등의 어떠한 경우에도 Lastmanuals는 책임이 없다. 예로, Lastmanuals는 번역 서비스를 제공하지 않는다.
이 계약서의 조항에 동의하시면 계약서 끝에 있는 "사용자 설명서 다운로드받기"를 클릭하세요. HP OFFICEJET PRO L7580 사용자 설명서의 다운로드가 시작될 것입니다.
